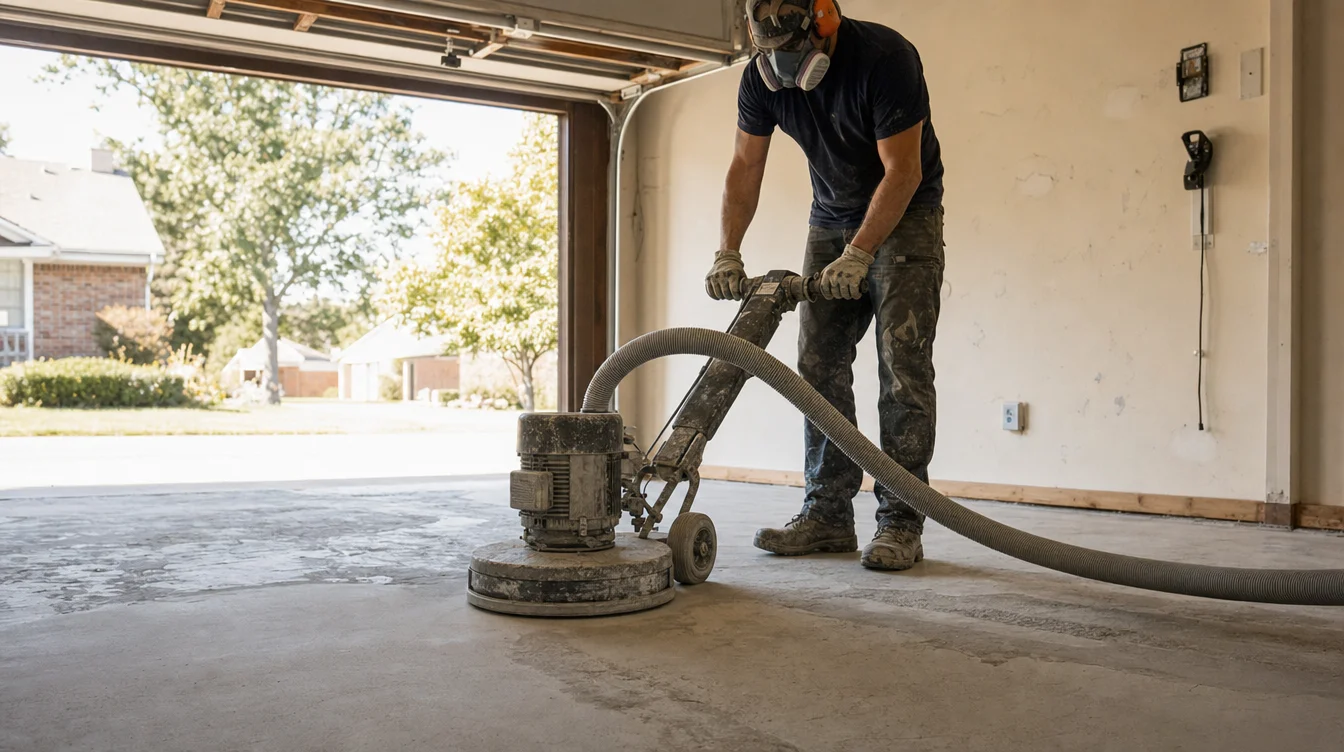
The garage floor prep steps a Nashville contractor follows before coating matter more than the epoxy product itself - a premium coating over poorly prepped concrete will fail faster than a basic system over a properly ground and tested slab. Here's exactly what should happen before any epoxy touches your garage floor, and why skipping a step is the most common reason DIY and budget installs fail early.
Step 1: Diamond Grinding the Nashville Garage Slab
Diamond grinding is the foundation of every proper epoxy installation. Industrial grinders fitted with diamond-segmented discs remove the top layer of weak surface paste (laitance) and open the concrete's pores, creating a mechanical profile the epoxy can physically key into. Without this step, epoxy sits on top of the slab rather than bonding to it - which is exactly why floors coated with only a light sanding or acid etch tend to peel within a year or two.
- Removes old sealers, paint, or coatings down to bare concrete
- Levels minor high spots and surface irregularities
- Creates a CSP (concrete surface profile) in the correct range for the specific epoxy system being used
- Connects to dust extraction equipment, keeping the process contained inside the garage
Why acid etching falls short: Etching kits sold for DIY use only lightly roughen the very top of the concrete with acid and do nothing to remove embedded oil or old sealers. It's a much weaker bond profile than diamond grinding produces, and it's the single biggest reason DIY epoxy kits underperform professional installs.
Step 2: Crack Repair and Degreasing
Nearly every Nashville garage floor we grind has at least one oil stain and a hairline crack or two. Both need attention before coating goes down:
Step 3: Moisture Vapor Testing
This is the step DIY kits and budget installers skip most often - and it's the one most likely to cause a total coating failure. Nashville sits on clay-heavy soil that holds and transmits moisture upward through a concrete slab. Coating over a slab with excess moisture vapor transmission traps that moisture underneath the epoxy, causing bubbling, delamination, and a milky or hazy finish within months.
ProEpoxy Nashville performs moisture testing (ASTM F1869 or F2170) on every project. If moisture levels are elevated, we apply a moisture-barrier primer rated to handle it before the base coat goes down - a step that simply isn't part of most low-cost quotes.
Step 4: Primer and Base Coat Prep
Once the slab is ground, repaired, degreased, and tested, it's vacuumed and inspected one final time before primer goes down. The primer is matched to the moisture test results and the specific epoxy system, then the base coat is applied within the manufacturer's recoat window - timing that matters more in Nashville's humidity than in drier climates, since it affects cure time and adhesion between coats.
| Prep Step | What It Prevents |
|---|---|
| Diamond grinding | Poor adhesion and early delamination |
| Degreasing | Oil bleed-through and adhesion failure at stained spots |
| Crack injection | Cracks reappearing through the finished coating |
| Moisture vapor testing | Bubbling, hazing, and full coating failure |
Every step here happens as part of a standard epoxy garage floor Nashville installation - prep and coating are done by the same crew in one visit, so nothing gets lost between a separate prep contractor and installer. If you want to understand what to expect on install day itself, our guide on preparing your Nashville garage for epoxy covers what to clear out and how to plan around the timeline.
Once prep is complete, fast-cure systems can move straight into coating the same day - see our breakdown of the polyaspartic one-day install process for what happens next.